Migration from the old CERN SSO to Keycloak
Create an Application
- Go to the Application Portal and create a new Application for your Sentry instance.
- Click
Add an Applicationand fill in the form with information about your Sentry instance and clickSubmit

- The application has been created. Now find it on the list of your applications and click the edit button

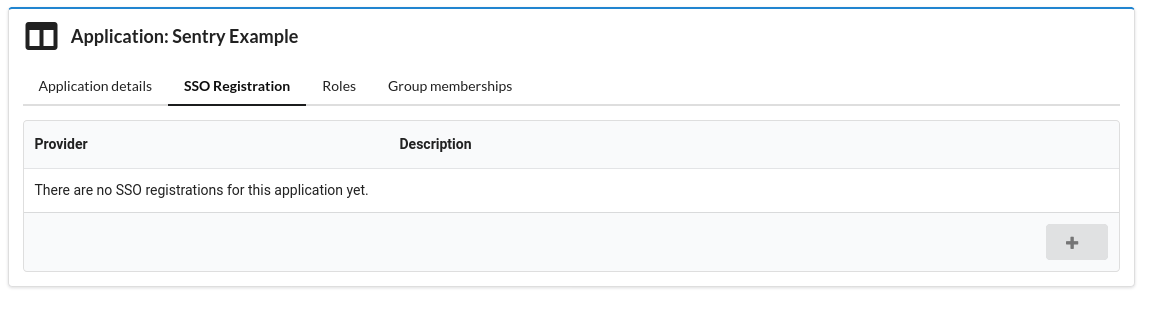
- Now we need to create a new SSO registration. Select the
SSO Registrationtab and click the add button in the bottom right corner
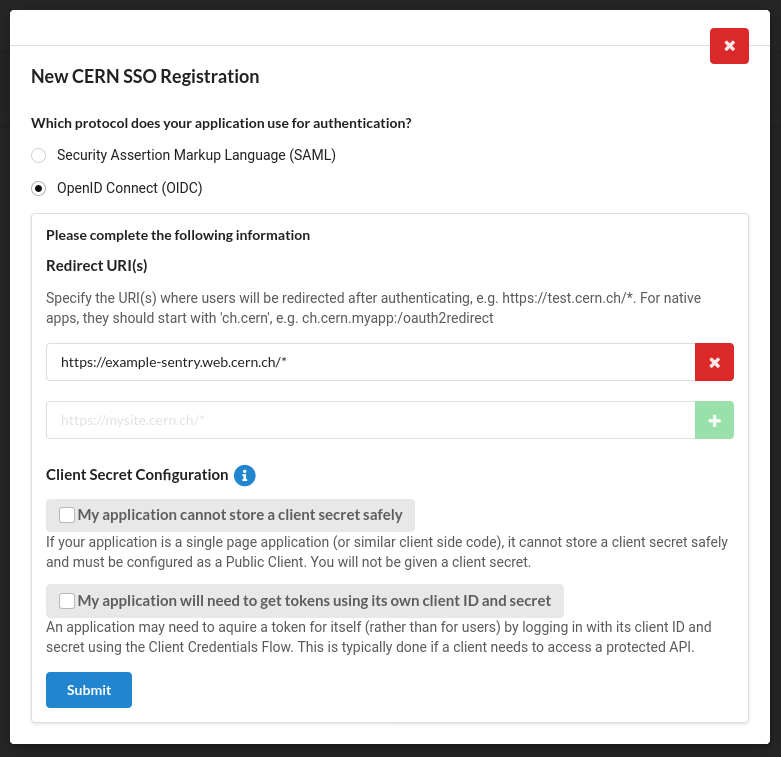
- A modal will be displayed. Fill it in with information about your Sentry instance. Add your sentry URL to the list of
Redirect URIs(don't forget to use your sentry's instance URL) Also don't forget to selectOpenID Connect (OIDC)as the authentication protocol. After you submit the form a modal withClient IDandClient Secretwill be presented. Note it down since it will be used later on
Note
The next steps are optional. Perform them only if you want to limit the access to your Sentry instance
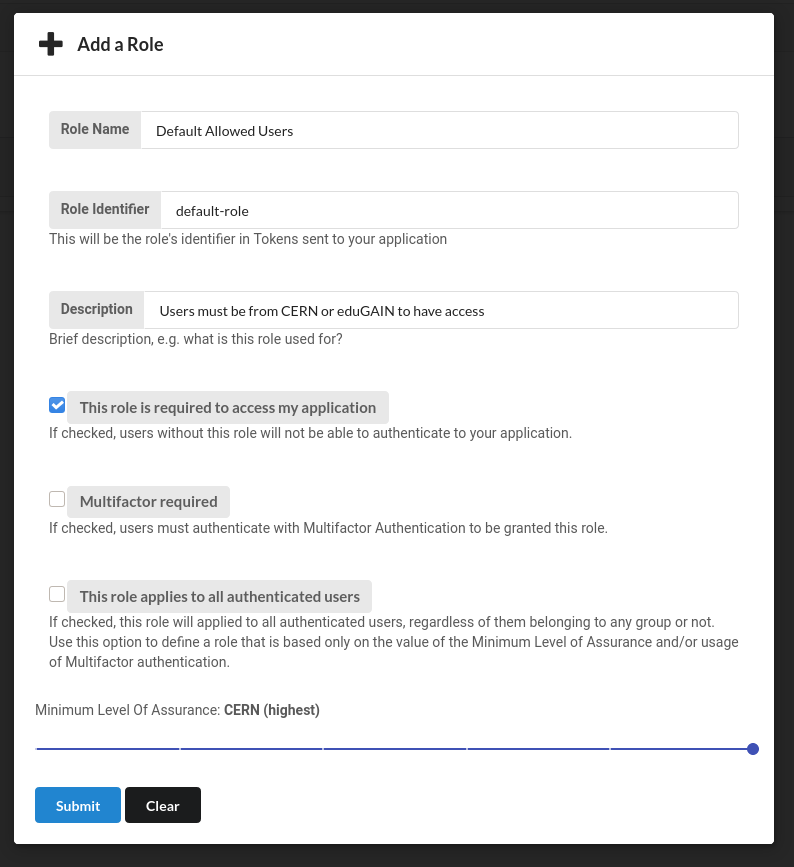
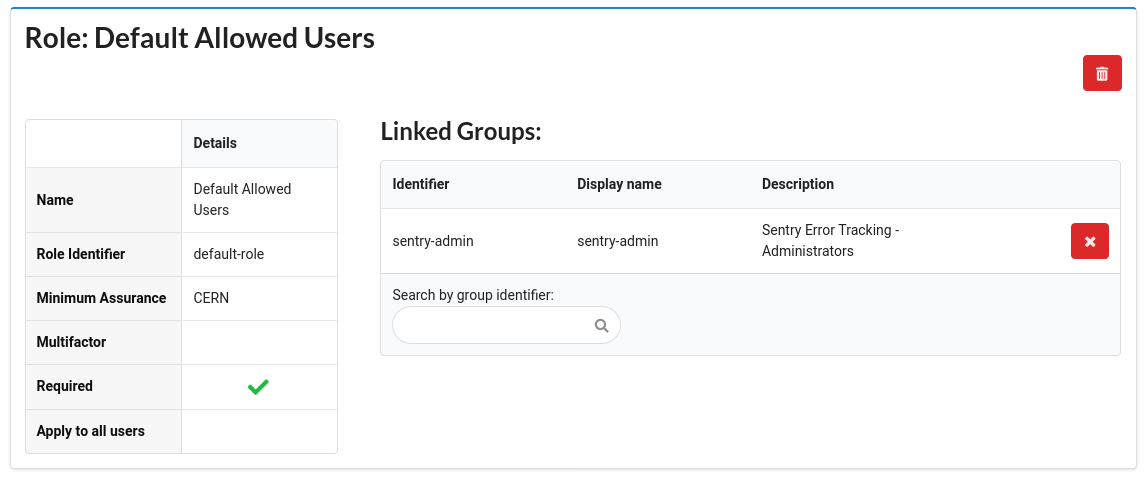
- Select the
Rolestab and click theEdit role detailsbutton. Set the Minimum Level Of Assurance to the desired value (more information can be found here)
Warning
In case you want to restrict the access to a specific group you need to uncheck the This role applies to all authenticated users
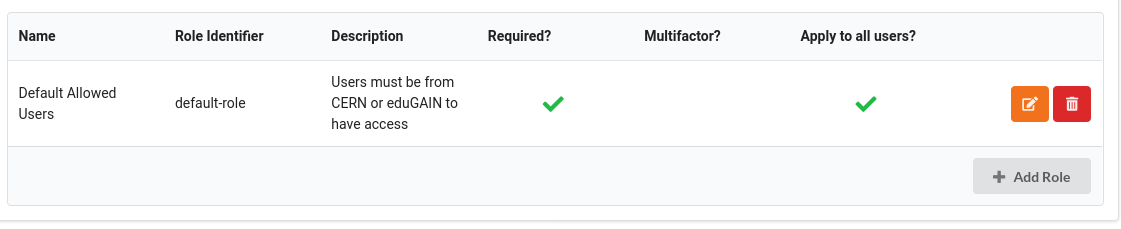
- Now if you want to allow only members of a specific group to access the app you need to select the
Rolestab and click theusersicon on the far right side of the row
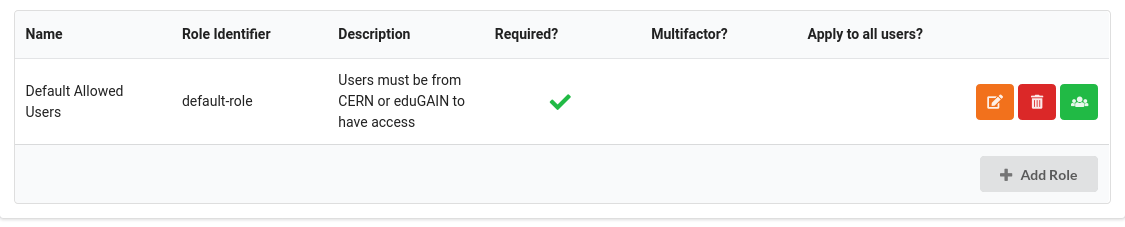
- Now you will be able to assign a group to the role you are editing. Use the
Search by group identifiersearch box to search for the group and add it to theLinked Groups
Change the ConfigMap in your Sentry OpenShift project
- Go to OpenShift and access your sentry project
- Go to
Resources -> Config Mapsand clicksentry-environment - Click
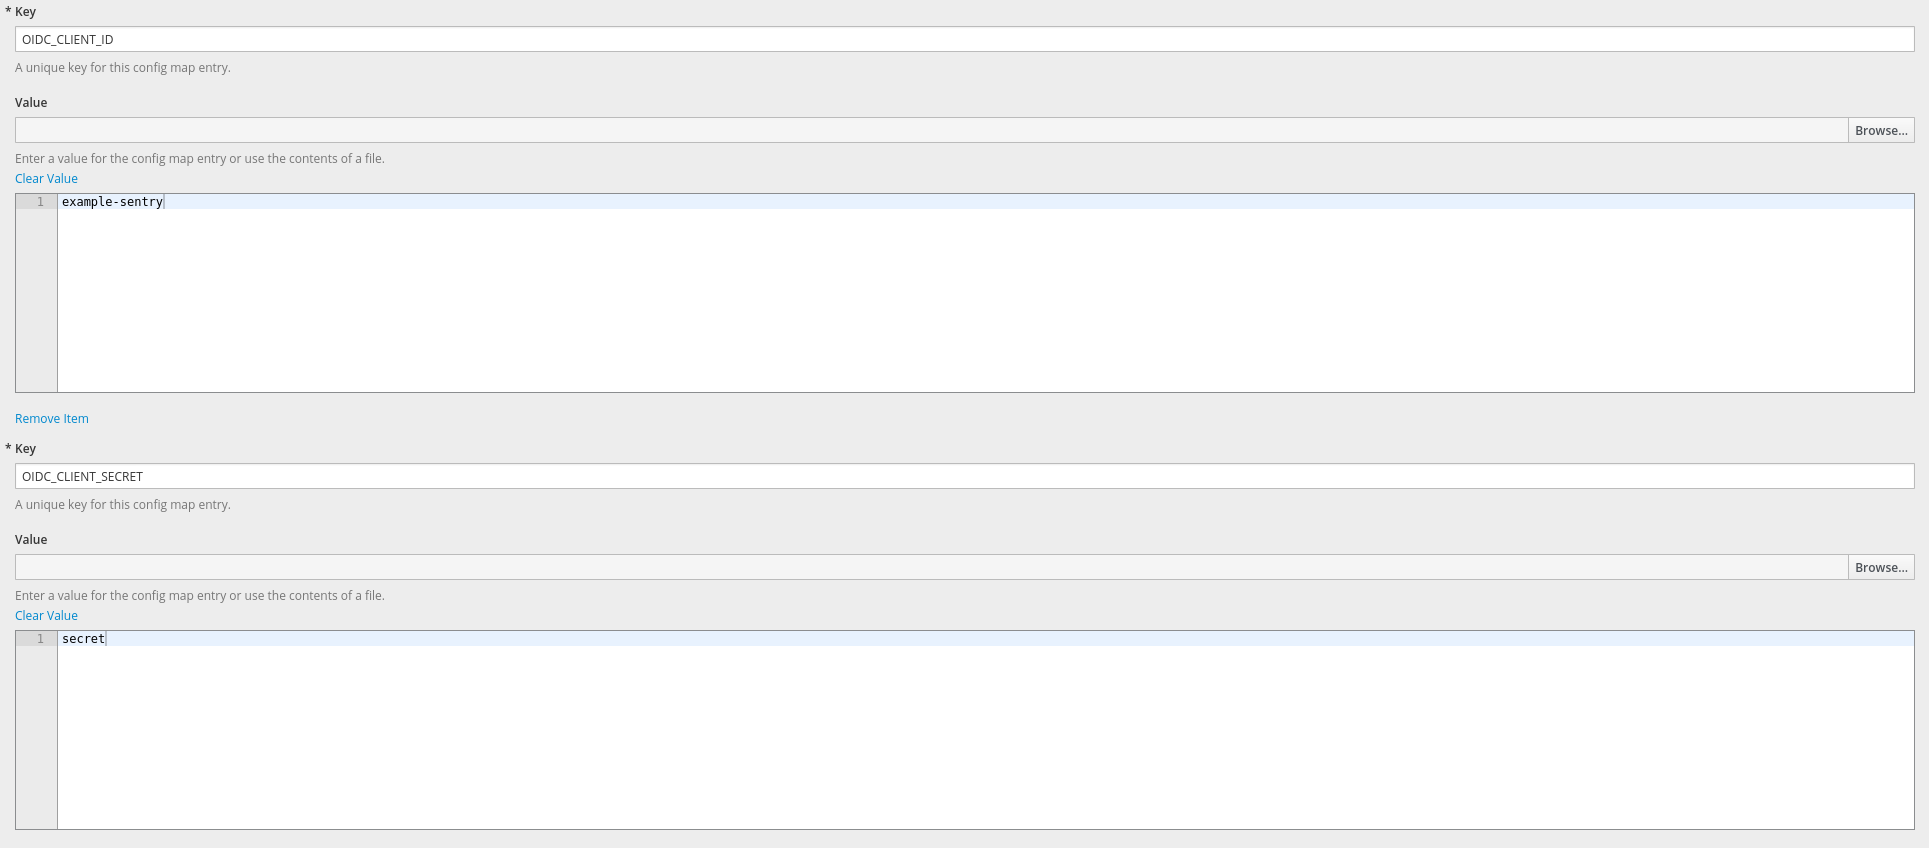
Actions(the top right corner) and then clickEdit - Scroll down and click
Add itemtwice (we will need to create two new entries) - Create the following entries (
OIDC_CLIENT_IDandOIDC_CLIENT_SECRET) with the data noted down while creating theApplicationin the previous steps
- Now we need to update the
DeploymentConfigs
Warning
The following steps will update only cron DeploymentConfig. But keep in mind you need to perform the same steps
for web and worker DeploymentConfigs
- Click
Overviewand then edit thecronDeploymentConfigby clickingEditin the dropdown menu

- Change the
Image Stream Tagto9.1.2-keycloak-sso

- Add entries to the
Environment VariablesusingAdd Value from ConfigMap or Secret(once againOIDC_CLIENT_IDandOIDC_CLIENT_SECRET)

- Once you are done with this you can click
Saveand Openshift will redeploy the necessary pods. (Remember to update theworker,webDeploymentConfigs as well)
Configure your Sentry instance to use new SSO
- Log into your Sentry instance as the admin, manager or the owner of the Sentry organization
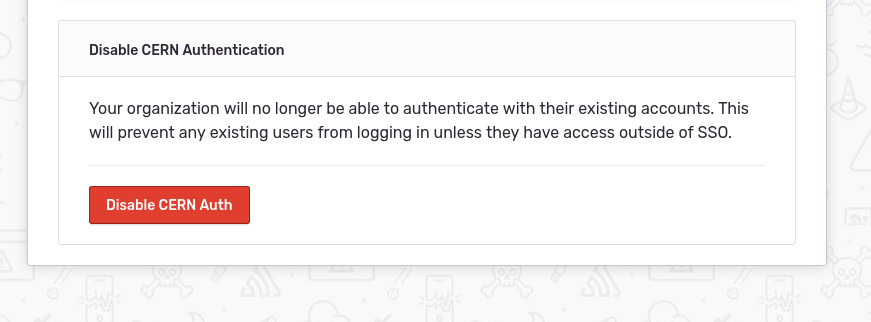
- Go to the auth settings of your Sentry organization
Settings -> Auth - Disable the old CERN authentication (this will send emails to existing users asking them to set a password on their account; this is not necessary since we will set up
KeycloakSSO in a few minutes)
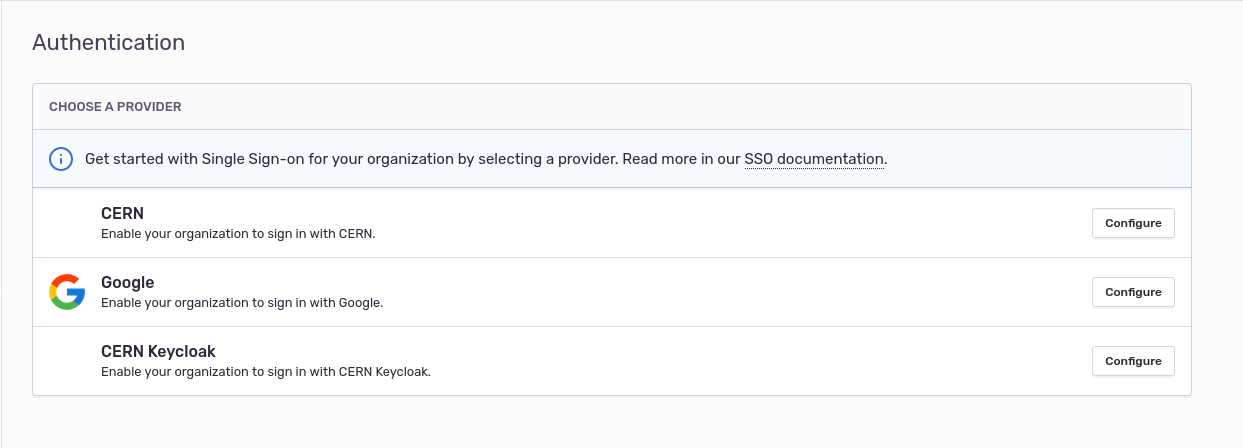
- Now we need to enable
CERN KeycloakSSO - Click
Configurenext to theCERN Keycloak(you will be redirected to the configuration form)
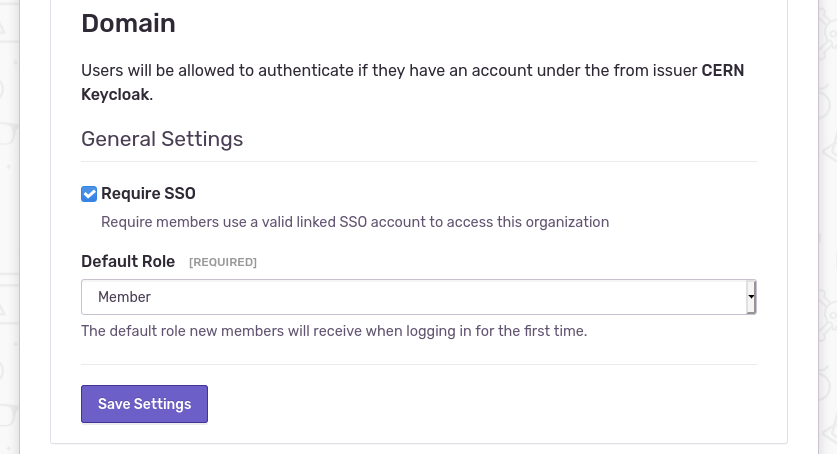
- If everything looks ok you can click
Save Settings
Note
Once users, who used old SSO system, try to log in using Keycloak, their identities will be linked to the new SSO system provided that they use the same e-mail address.